|
?Crazy Composer's
Cloning Method?
Contributed by: Crazy
Composer
Items you?ll need:
1. A very sharp blade.
2. A container that
can be covered in a clear membrane (plastic wrap or
something like that).
3. A clear membrane or lid.
4. A planting medium. (perlite mixed with
vermiculite, or just vermiculite, or sand, or in my case
FoxFarm Light Warrior mix) As long as it holds water and
doesn't dry out too quickly you're all set.
5.
Distilled water, or let the water sit out for at least
24 hours, before using.
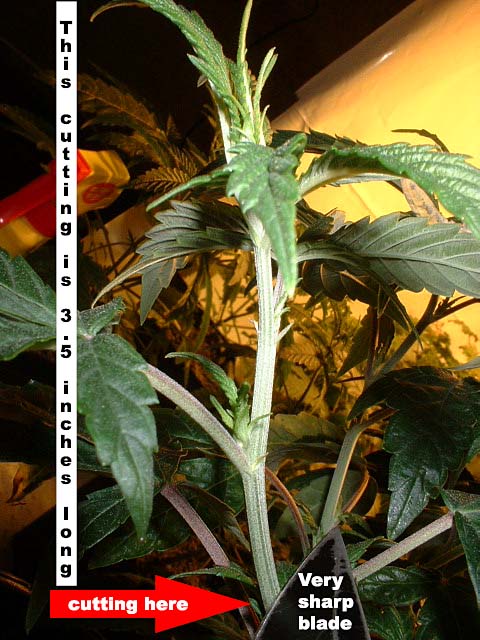
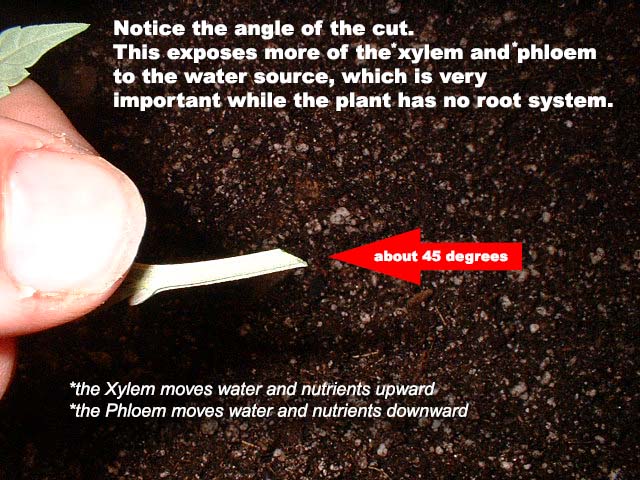
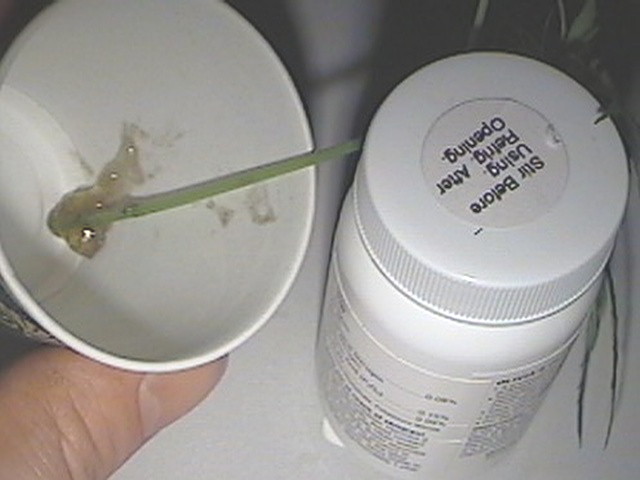
The
angle of the cut is important. Check the image to read
about why it's important. Also, water and feed a few
hours prior to taking the cut, this will ensure there is
plenty of resident water and nutrients for the week or
so without roots, also prevents air from entering into
the stem.
Your
new clone has no root system, therefore it has begun a
balancing act between having enough leaf surface to
continue photosynthesis (how a plant produces it's food)
and having too many leaves to support while having a
reduced ability to take up water.
I can't perfectly
explain how I decide when a clone has too much leaf,
that's an instinct that you'll learn as you become more
familiar with cloning. But from what I have noticed,
when a clone becomes droopy, it?s either from too much
light, or the leaves are too big, therefore I will trim
some of the leaves. A clone doesn?t need a lot of light,
if using fluorescence, a 20w will be fine. How far,
anywhere from 6 inches, to a foot will be fine. If using
a compact fluorescent, and a higher wattage bulb, than
anywhere from 1foot to 2 feet will be fine. If using
H.I.D. lights, then around 3 or 4 feet from the bulb
will be fine, also depending on the wattage, the higher,
the farther.
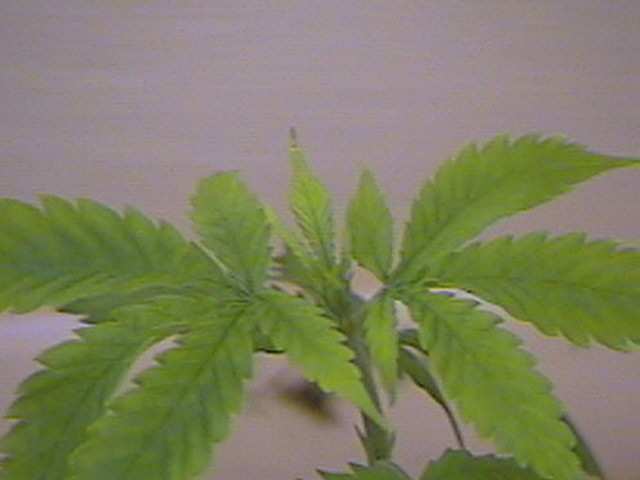
Here is a picture of what I do
(sometimes) when there's too much leaf and I don't want
to get rid of an entire leaf. I just take a couple of
leaflets from a large leaf, instead of sacrificing the
entire leaf.
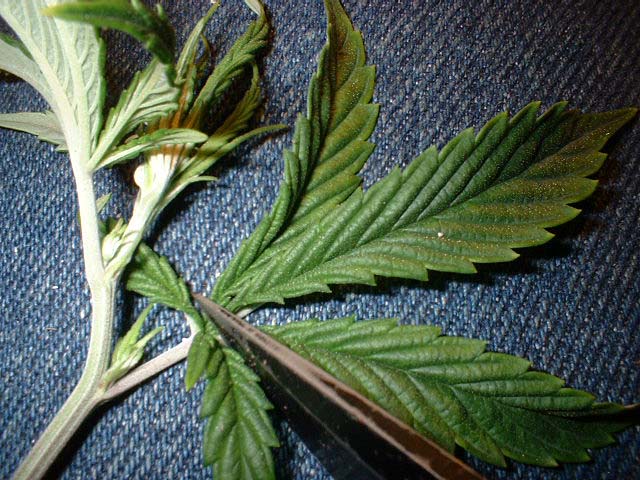
This is
what the leaf looks like after loosing a little weight.
Notice the gap in the leaflets where there use to be
more leaflets. This extra leaf surface was not
necessary, and could have demanded more water than the
45-degree cut at the bottom could provide.
So, now we have our clone ready to plant. If
you'd like, you can use a cloning hormone. I like to use
Rootech. A cloning hormone sort of gives your clone a
beneficial cancer. It causes the plant's cells to
rapidly divide and become callused. The roots will
appear out of these calluses. Make sure to cover at
least 1 inch of the bottom of the stem, and roll it
around in the cloning gel. If you cut below the node,
and cut the set of lower leaves, make sure to cover the
freshly cut side-shoots with the cloning gel as well,
and put the stem far enough into the soil, so at least 1
side-shoot node is covered in the soil. If cutting above
the node, make sure to get at least 1 inch covered as
previously told. To determine how deep to put the clone
into the soil, there comes a lot of factoring in. How
big is the clone, and where the clone was cut. But
anywhere from of an inch to 1 inches (Dipping right
into the rooting hormone jar should not be done. It
should be dispensed into a separate container and used
from there. Excess hormone should be discarded to avoid
contaminating your jar stock with any virus or other
diseases. Also make sure to sterilize the razor blade
and or scissors with peroxide or alcohol).
Now make a hole to place your clone into. You
can use a nail, pencil, anything that will make a hole.
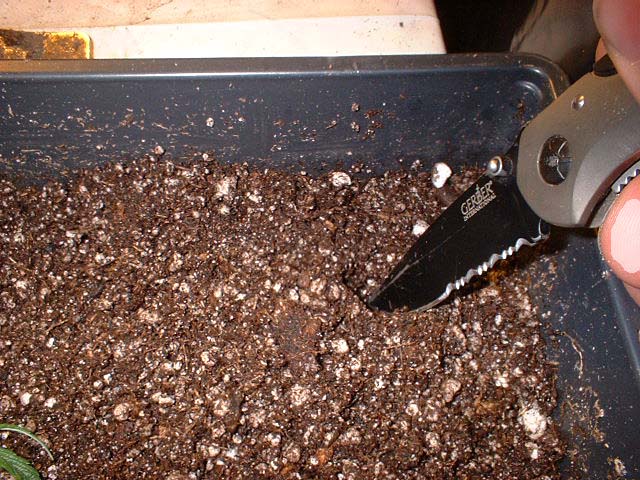
Just make sure your medium is nice
and moist before you plug your clones into it. We don't
want the ends to dry up and close before you do your
final watering.
Now just tamp the medium around
your new clone. Don't press too hard, but make sure that
the medium is tight enough around the clone's base to
hold it up straight when it is watered.
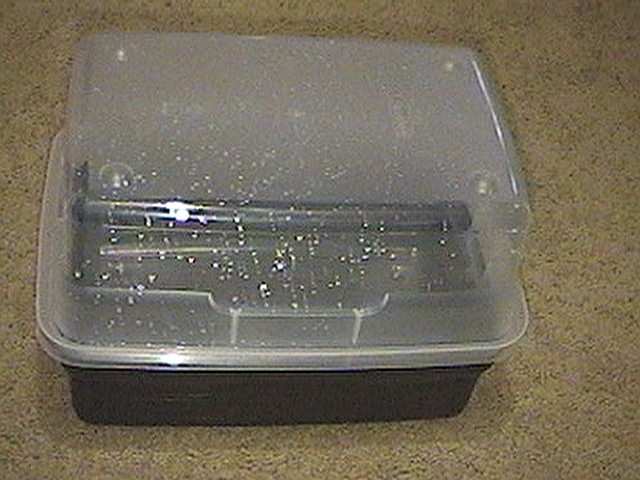
Some
tips while waiting for the clones to root:
Use a spray bottle to soak the medium and the
clones when the medium starts to dry out. Be careful!
Don't let the medium dry out while the clones are
without roots. There's no faster way to ruin a cloning
project than to let the medium dry out. Clones love
extremely high humidity, and temps from 75-82 degrees
(water vapor on your clear cover is a good indication
that things are humid enough). The temps can vary
slightly from ideal and you can still be successful, but
try to keep everything ideal.
Try to
keep the leaves from laying on or in the medium, this
may cause your leaves to rot, causing a plethora of
unwanted results. If taking a clone from a mother plant,
make sure to take the clone at the second node on the
side-shoot, so new growth will begin on the mother
plant, if cut below the first node, no new growth will
begin.
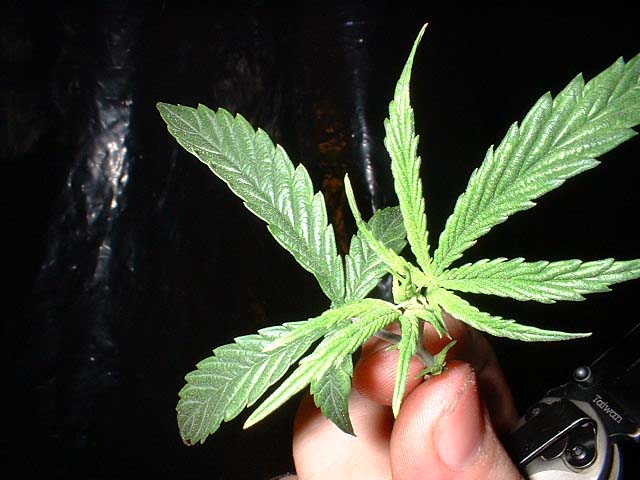
Some people have a hard time knowing when
root development starts, while cloning in a soil medium.
Here?s a picture of a clone, in which root development
has just started. You can tell by the leaves, which turn
upright.
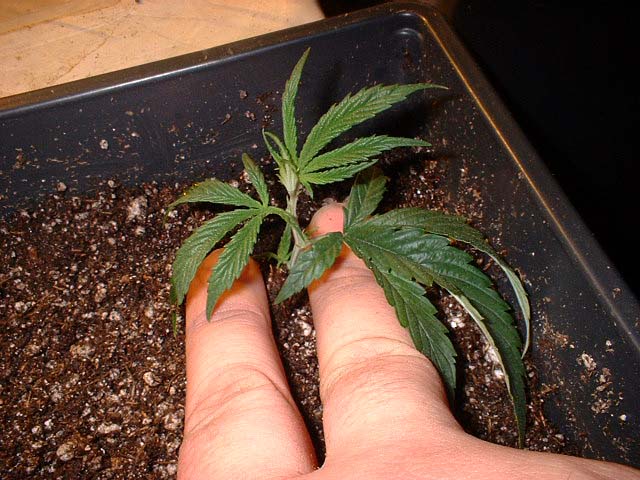
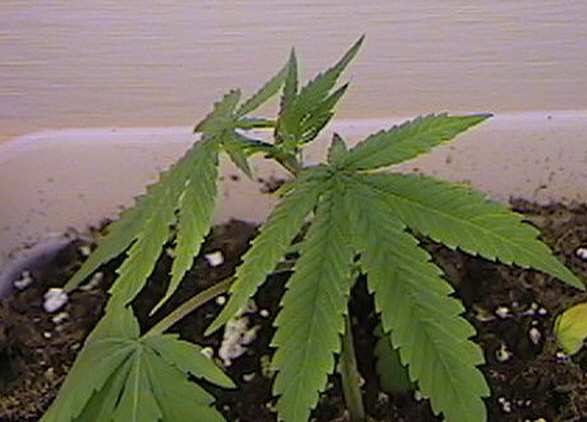
Here?s a picture of a clone with good root
development, and is about a week from the start of root
development, also notice the new sets of leaves on this
clone, this is a good marker for knowing the roots are
developing, and growing within the soil. At this stage,
they should no longer need to be covered, gradually
taking them out of the humidity dome or plastic wrap.
Start at 1 or 2 hours a day, after a few days, they
should be ready to go.
|